
DIY Striped Curtains from Drop Cloths
I've wanted striped curtains for our bedroom since we moved in. I had my heart set on painting black stripes on drop cloths for a while, but then gave up on the idea. I figured it wasn't that practical for a short-term place, and there's nowhere to paint long curtains in my apartment. Plus we launched into the master bedroom style mission, and I ended up trying out a bunch of different curtain options.
But the idea just wouldn't go away, and none of the curtain options we've tried in our 8 different bedroom looks have really rung my bell. So when we went to visit my parents in Pennsylvania last weekend, I took advantage of the space and the nearby Lowe's and got to work. First things first, I gathered my supplies.

DIY Striped Drop Cloth Curtains: Supplies
1. Drop cloths. As the title suggests, I started with drop cloths. Drop cloths are awesome for low-cost curtains, and there are all kinds of ideas out there if you care to Google around. I chose the 6 x 9 foot size because I could cut the drop cloths in half, length-wise, and get two panels per cloth. The drop cloths cost $10.50 each.
2. No-sew hem tape. Of course, if you have a sewing machine, you can skip this. The No-Sew kit, which I also used on my sister's curtains, was about $10 at Wal-Mart.
3. Latex Paint. Though a quart is pictured here, I ended up using quite a bit of paint. The fabric soaks it up. I'm not sure exactly how much, because I used up my quart and then moved onto a spare 5-gallon of white ceiling paint we had around, but I'm guessing 3 quarts. If you're doing curtains as long as mine, you might consider a gallon to be safe. Definitely go with latex paint. I started out with oil-based, and it didn't cover nearly as well, or as vibrantly, as dead-flat white paint I ended up using. It also ended up crunchier when the curtains were finished.
4. Painter's Tape. This one's pretty important, if you're doing stripes. If you're doing another kind of pattern or stencil, it's less critical.
5. Accoutrement. A tape measure, paint tray and roller are all necessary. A level less so, though it's nice to have. My dad also suggested snapping a chalk line (Contractor Dad, for the win), which would be really convenient. I used a smooth foam roller for part of the job, and a textured one meant for dry wall for part of the job. I preferred the smooth, but both worked very well.
DIY Striped Drop Cloth Curtains: Steps
1. Cut & Hem. First, cut and hem your drop cloths to the size you need. I cut each 6-foot-wide cloth in half length-wise to create two 3-foot-wide curtain panels. Then I hemmed each rough side using no-sew hem tape.
Hem a drop cloth using no-sew hem tape.
2. Create a rod pocket. Once your hem is done, create a rod pocket if you'd like one (otherwise, you can use drapery clips). I folded over the top of each panel five inches and used hem tape to secure it. Be sure to hem first and create rod pocket second. I

3. Tape out your stripes. Once you have hemmed curtains and your rod pockets are complete, measure your curtains. It may shock you to learn that $10 drop cloths are not the most consistently-measured items, so don't just rely on the math. I had curtains about 100 inches long, give or take an inch or two on each panel. In general, when doing stripes, I think it's a sure thing to divide your length by seven or nine (or any odd number) and then use that number for the width of your stripes. In this case, I figured working by 10 was too easy to pass up, so I measured out 10 inch stripes.
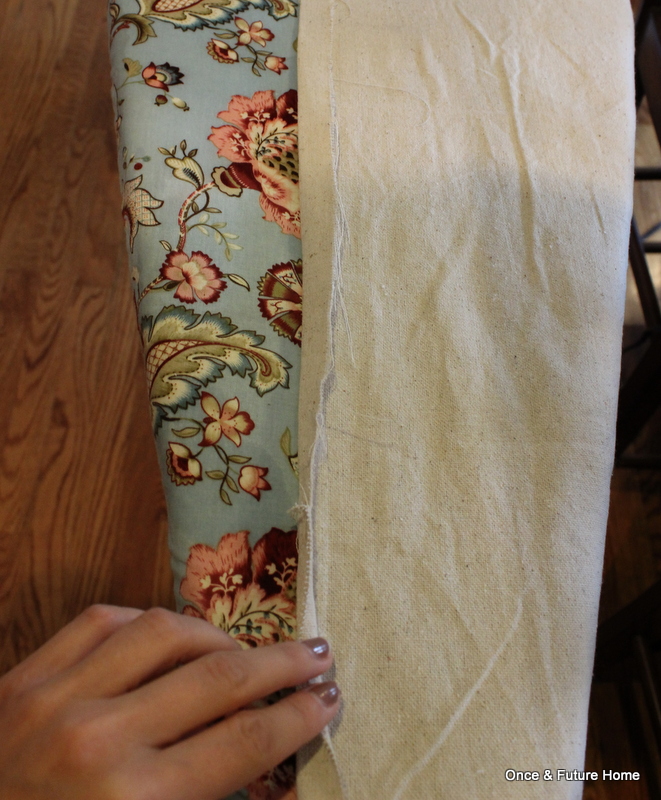
When taping, make sure to account for the width of your tape as you measure. So if your first stripe is going to be painted, place your tape ten inches below the top of the panel. But if it's going to be left unpainted, measure down 10 inches and then place your tape above that point. If you look below, you can see the difference in width of my "blank" stripes - where the tape is internal to the measure line - and the stripes to be painted, where you put the tape OUTSIDE of your measured line. I actually find it easier to use a wider tape because you can clearly see the difference in width of your taped stripes, and know if you're messing up.
As far as perfectly even stripes go: Forget it. The cloths themselves aren't perfectly straightly hemmed, so you'll tear your hair out trying to rectify that, and you won't notice the imperfections anyway. Pinkie swear. What you do want to strive for is stripes that match up with each other, because the curtains will hang next to one another. That's why I spread them all out and did them together. When it came to deciding between perfect 10 inch stripes on a panel or matching that panel to another, I chose to match.

Painting DIY Striped Curtains
4. Paint. Dabbing a bit of paint in the stripes you intend to paint may make it easier to avoid confusion as you go. Then try to work in a way that makes sense for your project. Since I was working in such a large area, I tried not to paint myself in anywhere. But if you look closely, you can see I stepped in a stripe at least once. It took me two full coats plus a bit of touch up in places, with a few hours drying - but not complete drying - between coats.

Painting DIY Striped Curtains
5. Remove your tape. Do this before your paint dries. Though it's not quite as bad as with walls, you can take off some of your carefully painted stripe and ruin your line if let the paint fully dry.
6. Hang and enjoy. That's it! Now you have painted striped curtains for a fraction of the cost of store-bought ones. I was lucky because I had the paint, tape and roller on hand, so my total cost was $25 for 4 8-foot curtain panels. If you're looking to save cash on paint, consider the "oops" section of the paint aisle. You can find great colors there, for $5 per gallon.

DIY Painted Striped Curtains
Of course, you can also paint ready-made curtains or other fabric. The plain curtains Target sells are perfect: I painted grellow stripes on white cafe curtains from Target a few years ago, and was thrilled with them. I'm really glad I just decided to paint the curtains I wanted rather than settle for some of the other things we've tried. I think I'll be happy with them anywhere we go. Thanks as always for stopping by, and let us know if you've DIY'd curtains lately!