I shared the nursery reveal the week before last, and detailed the homemade mobile and crib skirt, but I figure it's time to put the nursery to rest, and go over how the last of the projects came together. Let's start with the star wall, which I'm calling faux wallpaper, because my original inspiration was this wallpaper.

DIY Star "Wallpaper"
Though a tad bit time consuming, this was a super easy project (as we do around here). In fact, the most intensive part of the project was thinking it through: How big a star did I want; Did I want it to take up the entire wall; and how was I going to get said star? It turns out that to draw a star, you need actual tools, like a compass and angle and such. I mean. I have a cordless drill. I don't have a compass. So I used what I had, and what I had was that black and white striped star on the right-hand wall. (Not be a crazy photo apologist, but I am sorry that photo is so terrible and shadowy. Anyway).
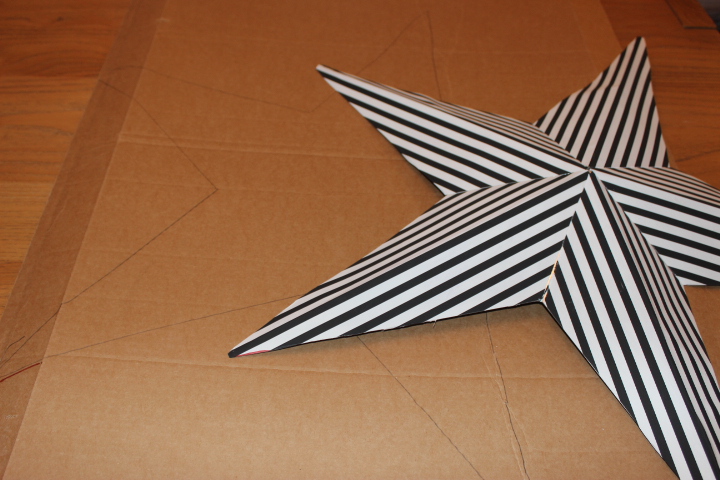
I traced the star onto cardboard, cut that out, and then traced my cardboard template on the wall in rough intervals.


Then I used a couple small craft brushes and a sample tub of paint (Valspar's Belle Grove Sorbet in Satin) to fill in the stars. I didn't stress about it being perfect - when do I ever? - and I didn't need to. The only thing I focused on was trying to keep the stars on a single plane, if that makes sense - lining up the horizontal arms of the stars, and not worrying if that meant that the vertical distance between stars varied. (If you look at the second picture, above, you can see where I course corrected to make my arms line up horizontally with each other). And it all worked out, if I do say so myself, without having worried too much about measurements. I also love the color. The only complaint I have is with the sheen of the paint, which I wish were less glossy. But hey - it was a clearance sample for, like, two dolla. A two dollar feature wall is a pretty good deal.
And that's all she wrote about the DIY star wallpaper! I thought about doing a real stencil in here, but once I decided to go the star route, this seemed like the easiest way to manifest the ole' vision. All told, it took several hours - maybe 5? But hey - that's not that bad for a DIY project, either. I doubt wallpaper would have taken much less, and it would have cost a lot more.
Next up: these toy storage boxes.

DIY Toy Storage Boxes
This is all veeeeery self explanatory, but I took a couple of banker's boxes we already had and covered them with pretty paper from Paper Source.
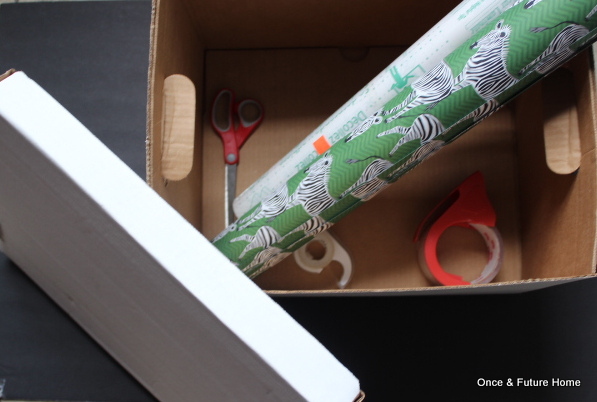
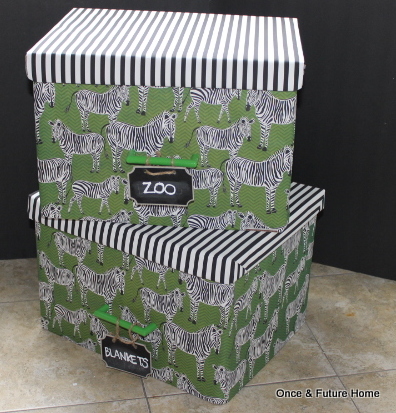
I lined both the inside and outside to keep things looking nice, and then I added the piece de resistance - the handles. I picked them up at Ikea, and I think they were six for a couple bucks. I played around with which one I wanted and where, and went with the handle pull on the front of the box.


The screws the handles came with were too long for a cardboard box, so I headed to the hardware store with my handle in hand and found shorter ones that were the right size. Then I screwed them in and voila - storage boxes for the cost of a couple clearance sheets of paper.
And that's the last of the nursery projects! I was a happy camper to have finished all this before Wesley made his appearance. Of course, it helps that I always aim for projects that hit at about a 5 on the 1-10 DIY Insanity scale. What about you? Any moderately easy projects you're pleased as punch to have completed? Thanks for reading, and I'll see you Friday.